1
2
3
4
5
6
7
8
9
10
11
12
13
14
15
16
17
18
19
20
21
22
23
24
25
26
27
28
29
30
31
32
33
34
35
36
37
38
39
40
41
42
43
44
45
46
47
48
49
50
51
52
53
54
55
56
57
58
59
60
61
62
63
64
65
66
67
68
69
70
71
72
73
74
75
76
77
78
79
80
81
82
83
84
85
| import time
import Adafruit_GPIO.SPI as SPI
import Adafruit_SSD1306
from PIL import Image
from PIL import ImageDraw
from PIL import ImageFont
import subprocess
# Raspberry Pi pin configuration:
RST = 17 # 注意这里填BCM标准的针脚号
# Note the following are only used with SPI:
DC = 22
SPI_PORT = 0
SPI_DEVICE = 0
# 128x64 display with hardware SPI:
disp = Adafruit_SSD1306.SSD1306_128_64(rst=RST, dc=DC, spi=SPI.SpiDev(SPI_PORT, SPI_DEVICE, max_speed_hz=8000000))
# Initialize library.
disp.begin()
# Clear display.
disp.clear()
disp.display()
# Create blank image for drawing.
# Make sure to create image with mode '1' for 1-bit color.
width = disp.width
height = disp.height
image = Image.new('1', (width, height))
# Get drawing object to draw on image.
draw = ImageDraw.Draw(image)
# Draw a black filled box to clear the image.
draw.rectangle((0,0,width,height), outline=0, fill=0)
# Draw some shapes.
# First define some constants to allow easy resizing of shapes.
padding = -2
top = padding
bottom = height-padding
# Move left to right keeping track of the current x position for drawing shapes.
x = 0
# Load default font.
font = ImageFont.load_default()
# Alternatively load a TTF font. Make sure the .ttf font file is in the same directory as the python script!
# Some other nice fonts to try: http://www.dafont.com/bitmap.php
# font = ImageFont.truetype('Minecraftia.ttf', 8)
while True:
# Draw a black filled box to clear the image.
draw.rectangle((0,0,width,height), outline=0, fill=0)
# Shell scripts for system monitoring from here : https://unix.stackexchange.com/questions/119126/command-to-display-memory-usage-disk-usage-and-cpu-load
cmd = hostname -I | cut -d\' \' -f1
IP = subprocess.check_output(cmd, shell = True )
cmd = top -bn1 | grep load | awk '{printf \CPU: %.2f\, $(NF-2)}'
CPU = subprocess.check_output(cmd, shell = True )
cmd = free -m | awk 'NR==2{printf \Mem: %s/%sMB %.2f%%\, $3,$2,$3*100/$2 }'
MemUsage = subprocess.check_output(cmd, shell = True )
cmd = df -h | awk '$NF==\/\{printf \Disk: %d/%dGB %s\, $3,$2,$5}'
Disk = subprocess.check_output(cmd, shell = True )
cmd = vcgencmd measure_temp
Temp = subprocess.check_output(cmd, shell = True )
# Return CPU temperature as a character string
# Write two lines of text.
draw.text((x, top), IP: + str(IP), font=font, fill=255)
draw.text((x, top+9), str(CPU), font=font, fill=255)
draw.text((x, top+18), str(MemUsage), font=font, fill=255)
draw.text((x, top+27), str(Disk), font=font, fill=255)
draw.text((60, top+9), str(Temp), font=font, fill=255)
# Display image.
disp.image(image)
disp.display()
# 设置屏幕刷新间隔秒数,与CPU损耗相关
time.sleep(5)
|


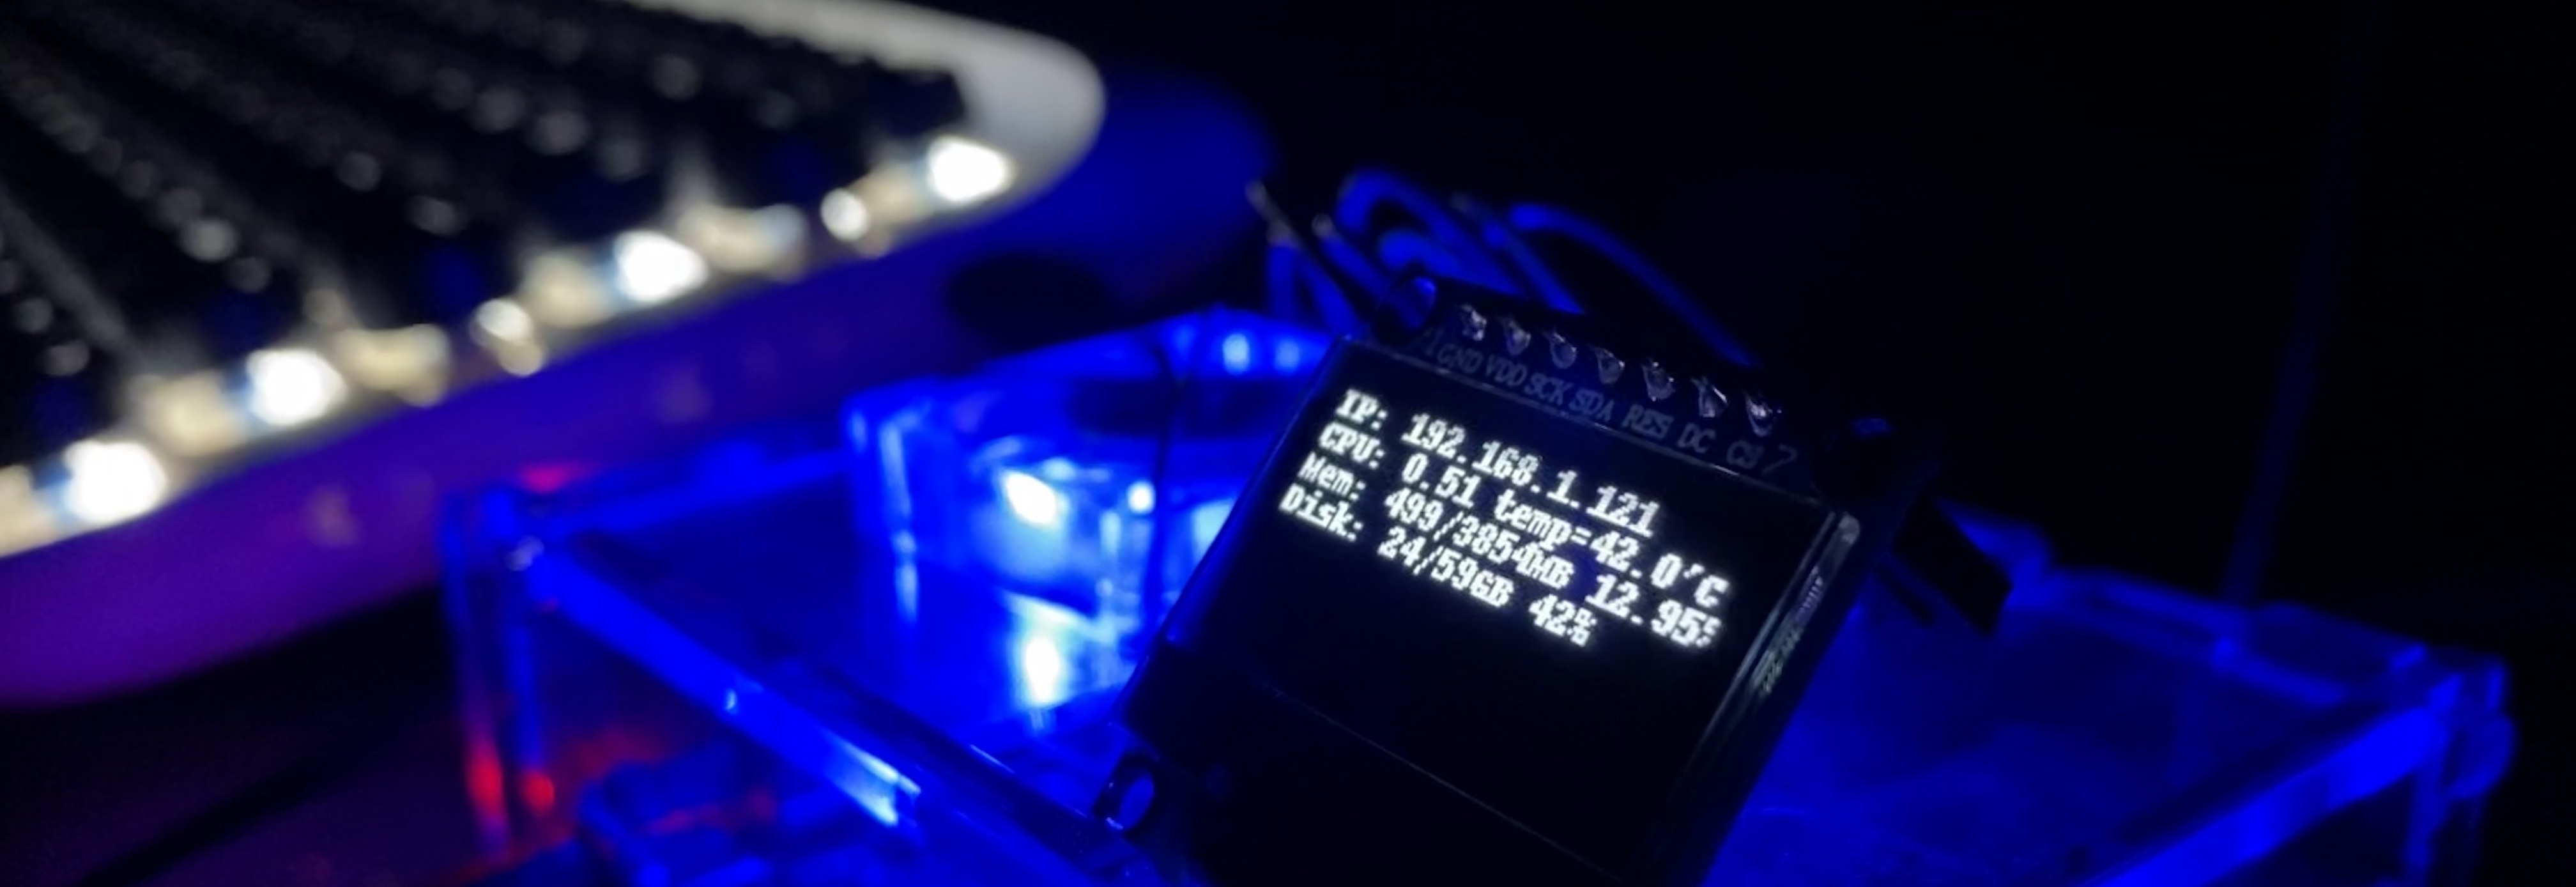
 把模块的引脚接到树莓派的GPIO上, 需要注意这里要分清GPIO引脚号是BCM编号还是实际编号。GND脚和树莓派的GND连接;VCC接到3.3V脚;D0接到树莓派的SCLK脚(第23号脚),即BCM.11脚;D1接到MOSI脚(第19号脚),即BCM.10;RES接到BCM.17脚,即第11号脚;DC接到BCM.22脚,即第15号脚;CS接到CE0脚(第24号脚)。总之,除了RES和DC是可以任意指定GPIO口,其他引脚是必须和树莓派上的指定脚连接的。